I was contacted by Holly Hughes with Chairish.com to create a style board using one of their vintage chairs as my inspiration. Of the sample chair photos she sent me, I chose the Next French Medallion Chair. I love its simple, yellow upholstery with noo pattern, and I also like the shape of the chair. It would fit well in a room in the French style of decor that we bloggers love so well. I created my style board for a casual family room.

I have shown the chair larger since it is the inspiration piece. I kept gold and red as the main colors for the room. All the items I chose are available at Chairish.com. What is Chairish? It is an online store where you can buy and sell your vintage items. Lots of the items are "make an offer" items. You should check it out.


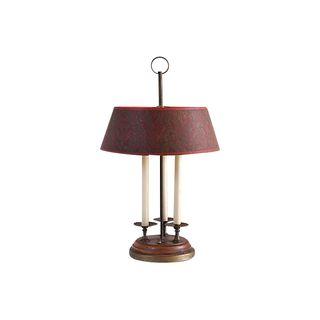


About my other items. I liked the table (commode) because it speaks to the curves on the chair. The mirror for the wall is vintage, and would look great over the table. The rug has a somewhat modern vibe, but would anchor the other items well, and would make for a cozy family room setting. The pattern will work well because the chair is a solid color. I chose the lamp for it's vintage style, as well, the red candle sticks for a pop of color, and the rooster art because what says french style, more than roosters?
Hope you like my style board, and many thanks to Holly for the invitation to participate in this opportunity.
Don't forget to check them out online here!

I have shown the chair larger since it is the inspiration piece. I kept gold and red as the main colors for the room. All the items I chose are available at Chairish.com. What is Chairish? It is an online store where you can buy and sell your vintage items. Lots of the items are "make an offer" items. You should check it out.


About my other items. I liked the table (commode) because it speaks to the curves on the chair. The mirror for the wall is vintage, and would look great over the table. The rug has a somewhat modern vibe, but would anchor the other items well, and would make for a cozy family room setting. The pattern will work well because the chair is a solid color. I chose the lamp for it's vintage style, as well, the red candle sticks for a pop of color, and the rooster art because what says french style, more than roosters?
Hope you like my style board, and many thanks to Holly for the invitation to participate in this opportunity.
Don't forget to check them out online here!
Comments
Post a Comment
I love your comments and feedback. Be sure to leave a comment so I know you visited, and I will visit you and leave you a comment in return! Thanks!