Front of House


2015
Rear of house


2015
Family Room
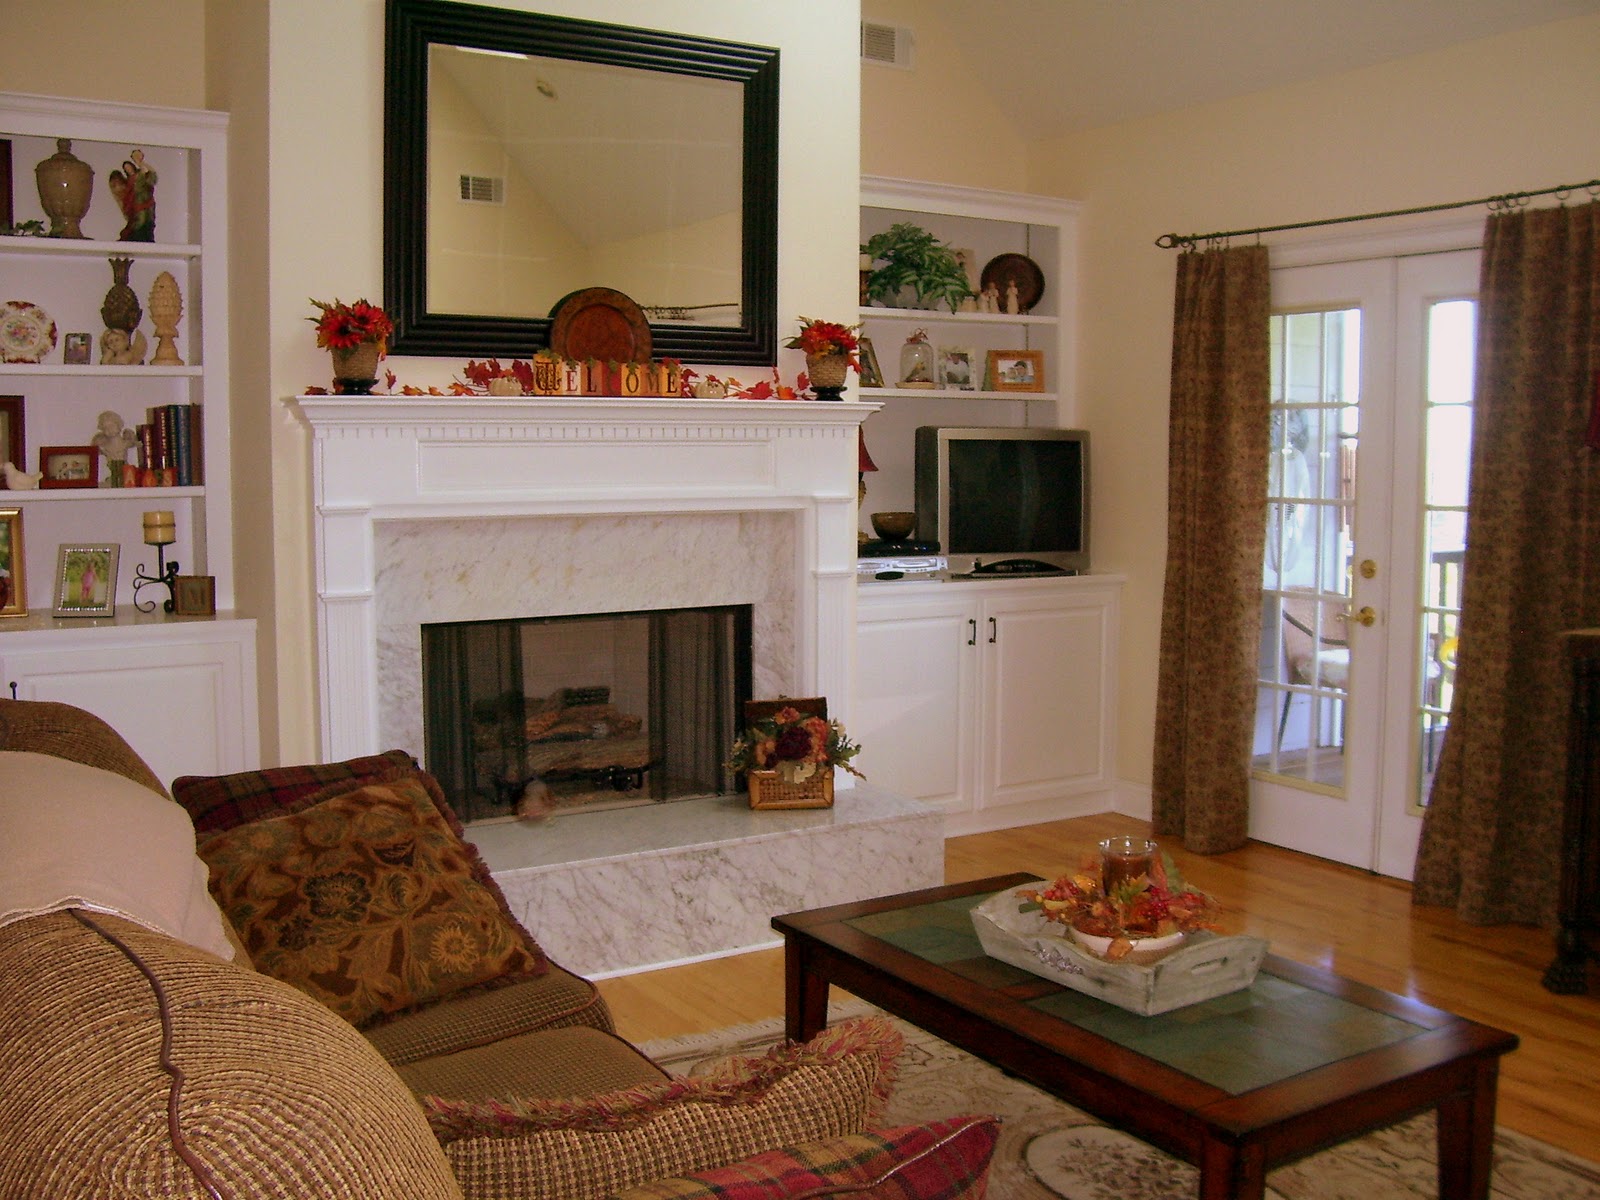

Family Room (2015)


2016


Dec. 2016

Dining Room


Spring Dining Room


(2015)
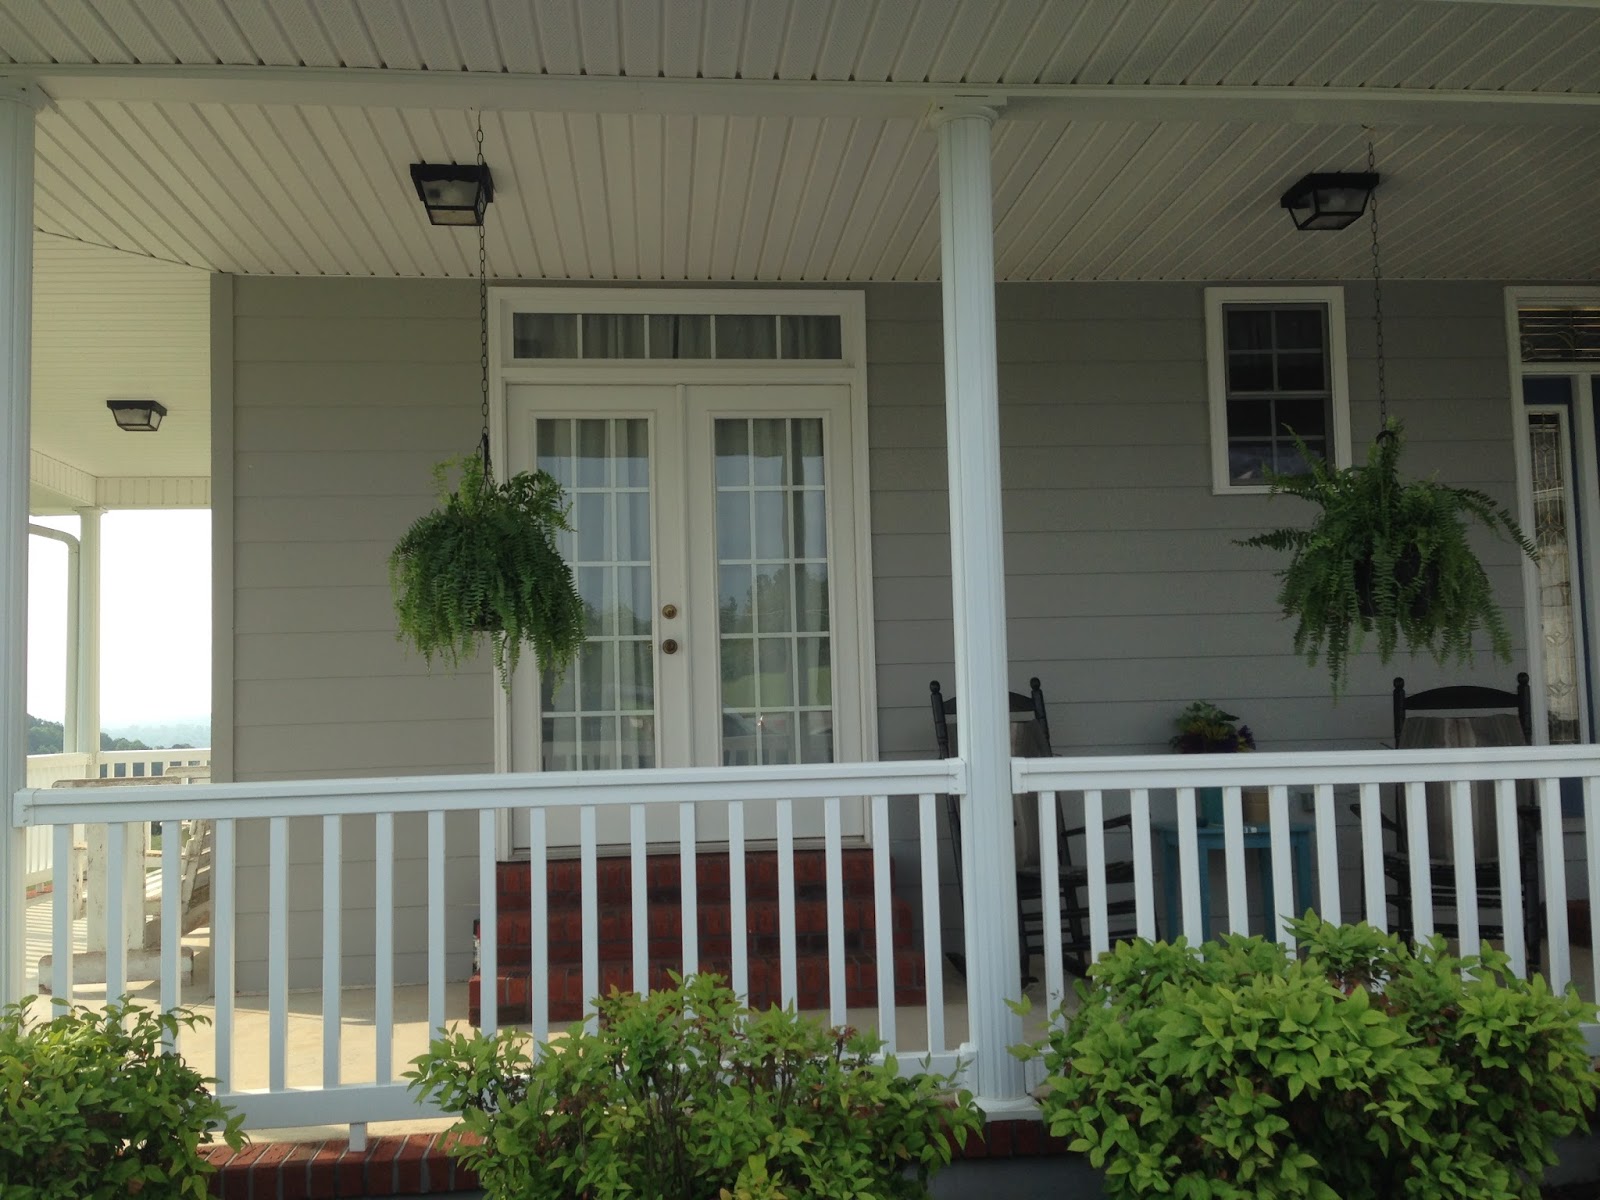
Entry (Fall Porch)

Entry (Front Porch, Spring 2012)

Entry 2016 (March)


Entry table at Easter 2012

Foyer
 Hall Tree (2016)


Powder Room


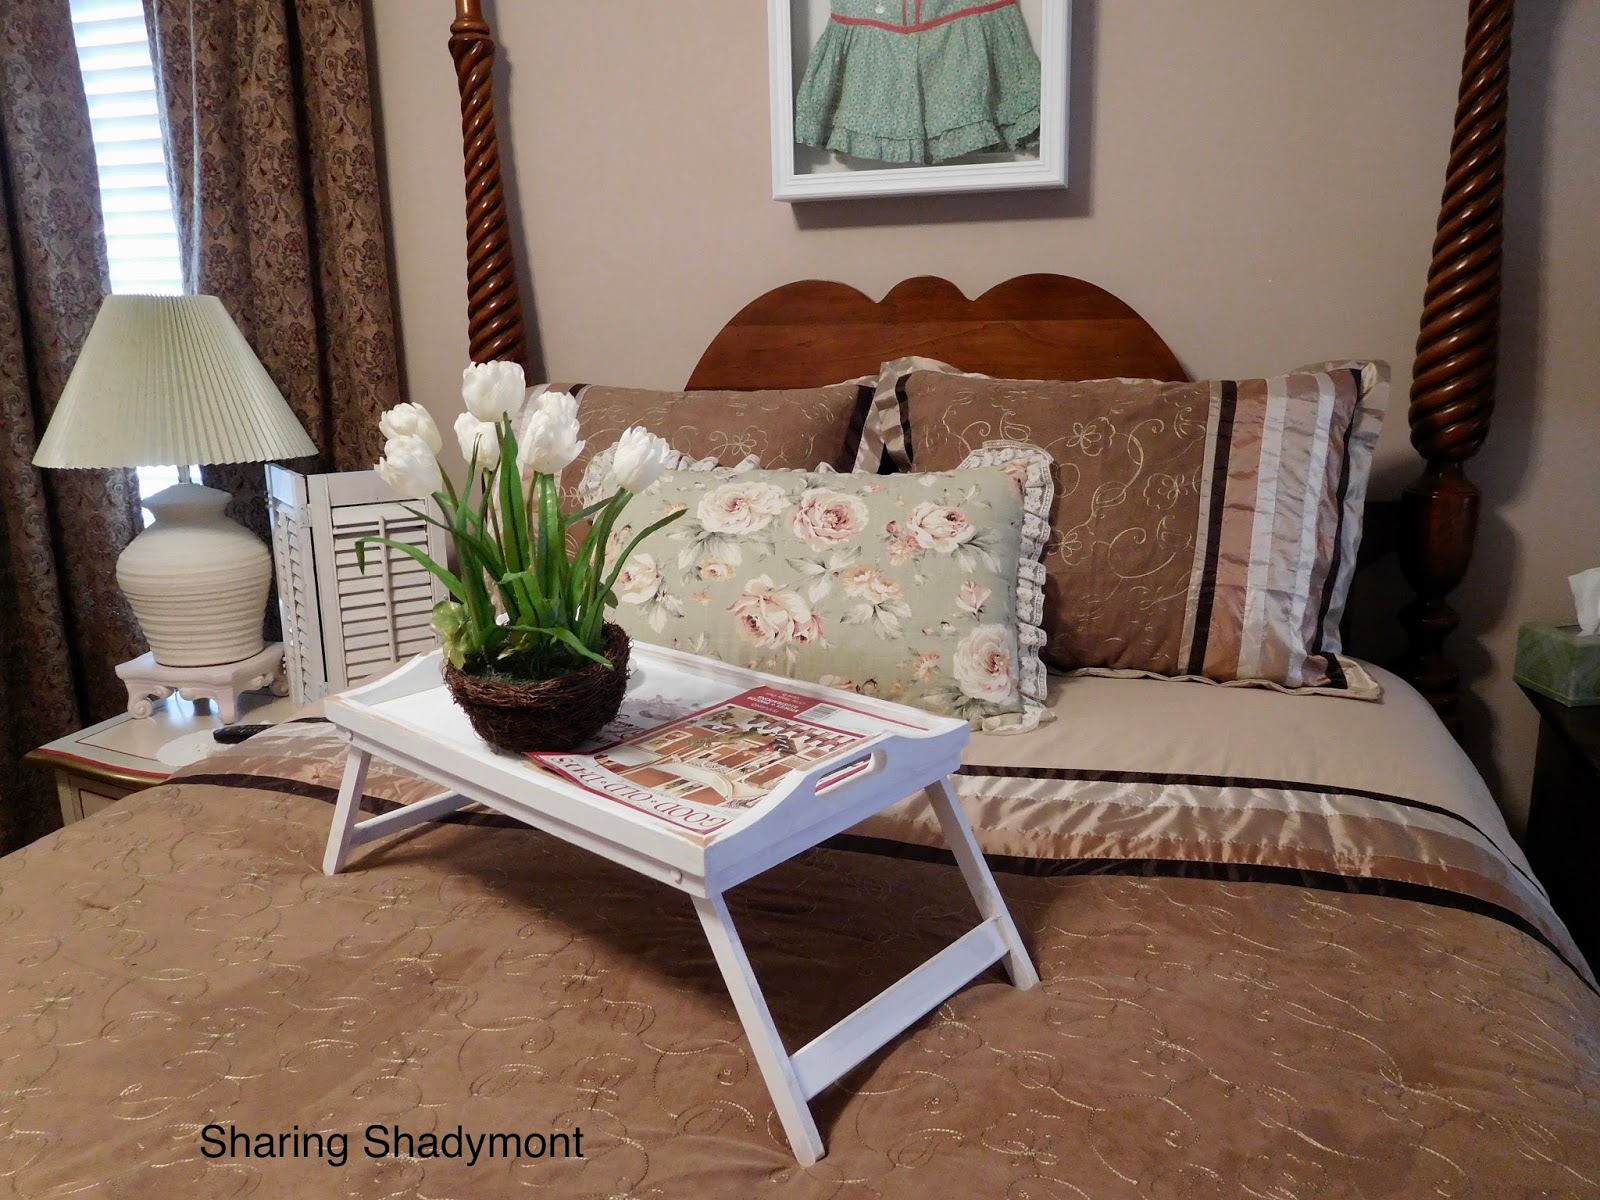
Master Bedroom


2015 changes


Master Bath

Sun Room
Sun room changes, 2015 (total spent, $6.00)


Breakfast Nook

Breakfast Nook, 2015

Kitchen


Guest Room

2015


Guest Bath


2016


Screened Porch


2015


Front, 2015


Office/Library
BEFORE
BEFORE

AFTER

Love Seat opens to a twin bed for extra guests


Changed Cabinet (July 2012) Left side previously held guns. Changed to shelves.
Added shelves to left side of cabinet (DIY)
Feb. 2014


Added shelves to left side of cabinet (DIY)
Feb. 2014
Mud Room

Laundry Room


Laundry Room (sign)
Bonus Room (above Garage)

Extra Bedroom/Play room for Grandchildren

Nice place to get away
changes in 2015


Garage
 Wall color, BM Pisma Dunes, Semi Gloss


changes in 2015


Garage


