Just before Christmas, I moved the furniture in the sunroom around. I liked it okay for a while, but lately when sitting at the table, the view into the room bothered me. I had a steel type shelf unit at the window holding the plants. That happens to be the spot where the table and chairs normally sit.

I moved the plants to the floor, and my husband took the shelving unit back to the garage for his use there.
 I brought this vintage table back from the master bedroom, and placed it here where the jelly cupboard was and stood the old closet door behind the table.

I had recently been using a rug with pink and green in it, but it had a stain I could not get out, so I bought a small white rug for the room.

 I hung these printed sheers in the room. I've had them a long time, and they once hung in the guest room. I like the color combination in these curtains.

The table was moved back to the windows. It just works better here.

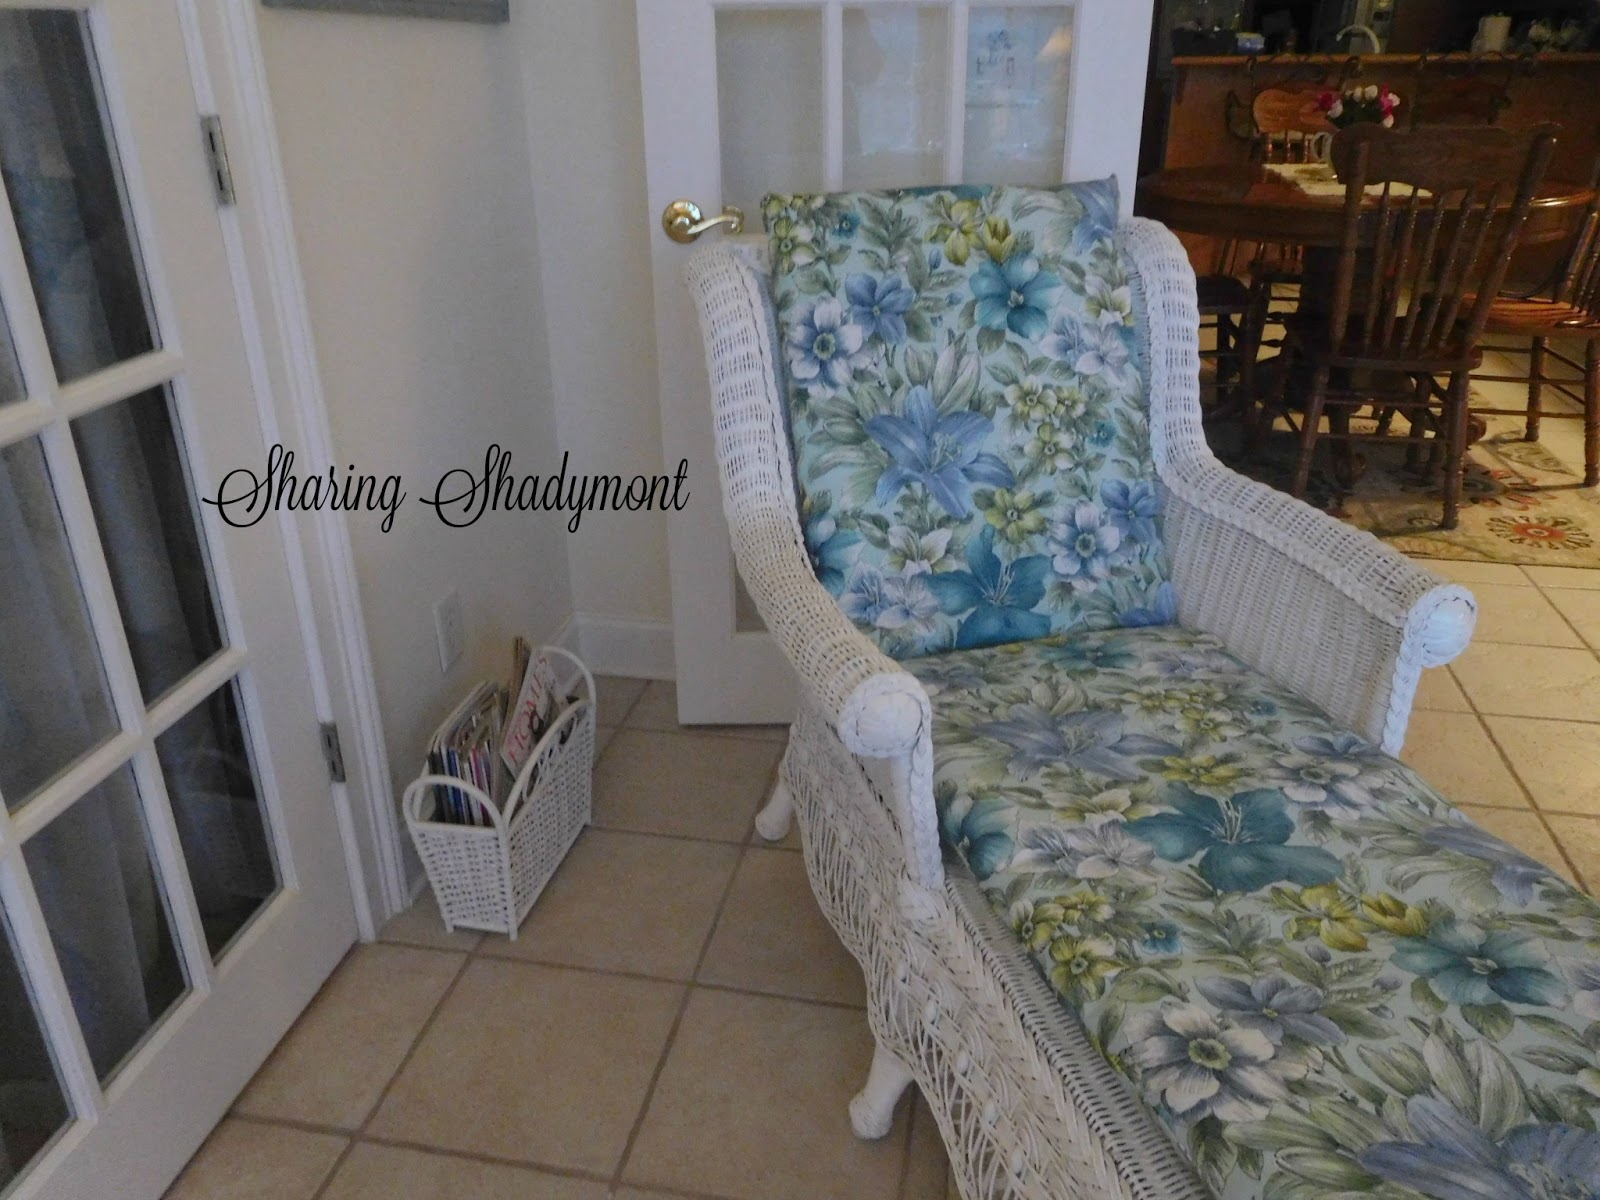
Placing the chaise on this side of the room, allows for a better walking pattern to the screened porch.
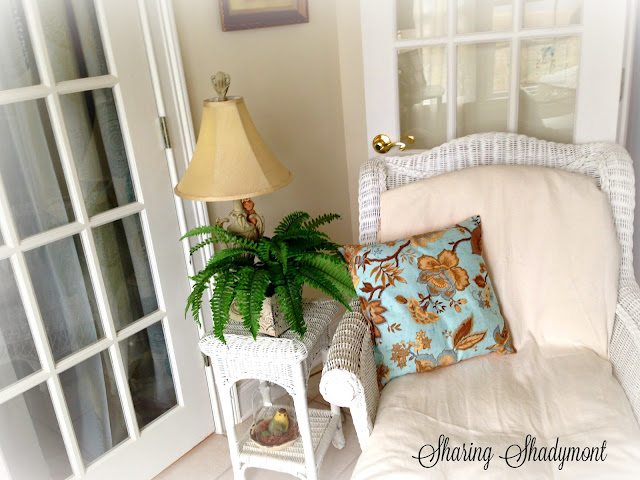

I had the opportunity to go to At Home today, and I found some cushions that I really liked for the wicker chairs. I removed the old cushions, and throw pillows (above), and here are the new cushions. (below)


I was able to stay in my color range with the new cushions. I really like these, and the cushion in the chaise fits perfectly, even though, I forgot to measure the chair before going to shop.
 I had a gift certificate for Queen of Hearts, and it is located just up the street from At Home, so I went in there and bought some smalls in the blue colors to place on the vintage table. The 'plate' is actually a painted brass tray, the book is one where the cover has been painted, and the K sign said on the tag that the wood is from a 75 year old church in South Georgia.

 I placed the chair I recently finished in the corner to hold some of the plants. It's color works well in here.

 I also brought in the magnolia print from my sweet friend, because it has white and turquoise. The feel of the room is more relaxing now.

I set the table with white, and green.


Sharing these changes here:


I had recently been using a rug with pink and green in it, but it had a stain I could not get out, so I bought a small white rug for the room.

Here you can see the rug, and how it blends in with the walls and tile.


Placing the chaise on this side of the room, allows for a better walking pattern to the screened porch.

I'm hoping to find new and more comfortable padded cushions for the sunroom. I've had these since the home was built in 2000. I'd like to find some with memory foam on the inside. They would be much more comfortable.

LATER:


I was able to stay in my color range with the new cushions. I really like these, and the cushion in the chaise fits perfectly, even though, I forgot to measure the chair before going to shop.


I set the table with white, and green.


Costs of makeover:
rug: Lowe's, $29.00
Cushions: At Home, $52.00
Smalls on table: Gift card
TOTAL: $81.00
Sharing these changes here:
Comments
Post a Comment
I love your comments and feedback. Be sure to leave a comment so I know you visited, and I will visit you and leave you a comment in return! Thanks!