I've added a touch of Valentine's décor to the entry without spending any money. A touch of red is always welcome during the dreary months of winter.
This table once belonged to my paternal grandmother, was painted a dark brown, with coat after coat of paint underneath. Now it has a coat of ASCP Olde White with heavy dark wax to make it have more of a natural look. I painted grain sack stripes on it some time ago, but today I have covered the table with a runner which can be used either for Christmas or Valentine's since it is white with gold cupids and stars.


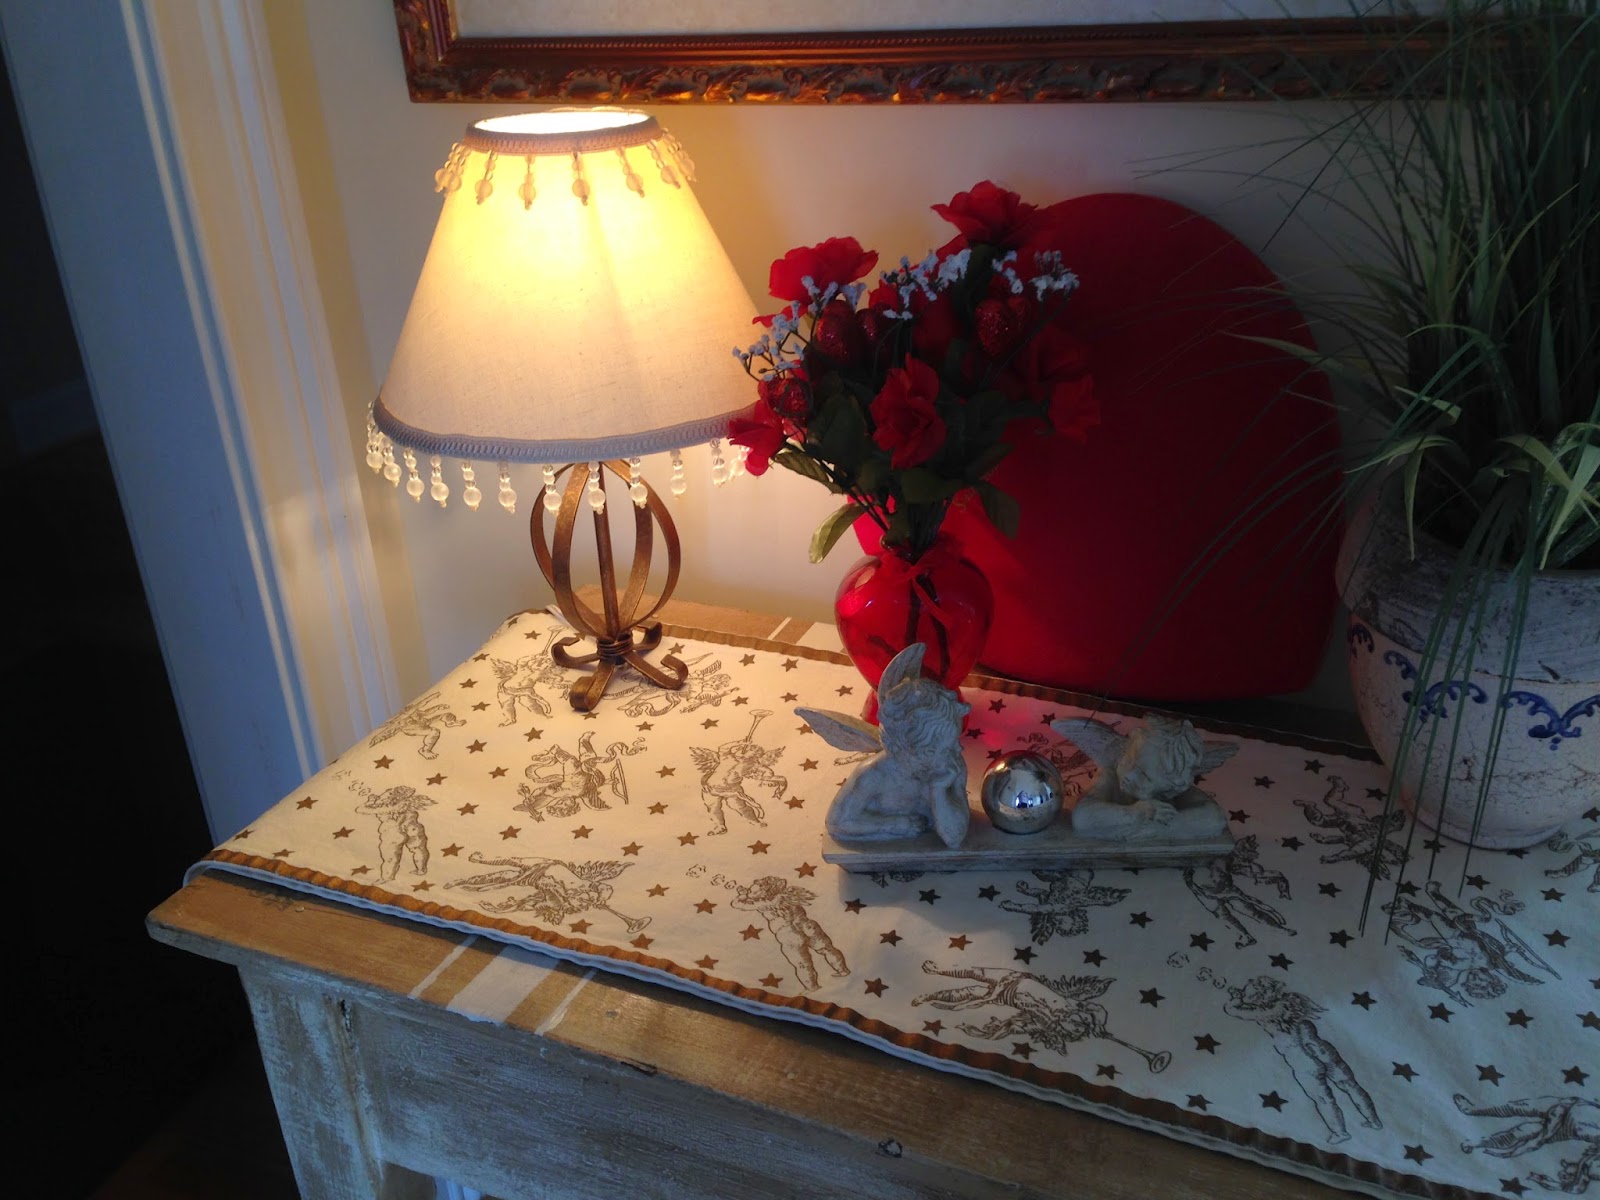
This table once belonged to my paternal grandmother, was painted a dark brown, with coat after coat of paint underneath. Now it has a coat of ASCP Olde White with heavy dark wax to make it have more of a natural look. I painted grain sack stripes on it some time ago, but today I have covered the table with a runner which can be used either for Christmas or Valentine's since it is white with gold cupids and stars.
I've had this cupids with gazing ball for a very long time, from Kirkland's.
The runner, from consignment sale.
A velour heart box, once filled with chocolates.
A heart shaped vase with DT roses.
Simple collection of items I already had, come together for a sweet Valentine's display.
Look around your home and see if you can come up with a display for little to no money.
It will brighten your day!!
Joining here:
What's It Wednesday @ Ivy and Elephants
Wow Us Wednesday @ Savvy Southern Style
Whimsy Wednesdays @ Simply Design
Home & Garden Thursday @ A Delightsome Life
Share Your Cup @ Have a Daily Cup with Ms. Olson
Please stop by for a visit!!
Comments
Post a Comment
I love your comments and feedback. Be sure to leave a comment so I know you visited, and I will visit you and leave you a comment in return! Thanks!